We are preparing for lots of transition in the Guillebeaux house, including birthdays, the start of a new homeschool year, and my husband going back to work. Because my husband works in the local school system and is off for the summer, he takes over homeschooling while I get a chance to prepare for the the new “official” year. During this time, I like to deep clean the house and get projects done that will make my life easier and my home feel more “home-y.” It is always my goal to host more people in our house for the upcoming year, as we are called to serve others and be hospitable in doing so. I’m not an expert by any means, but I’m also not afraid to make a mistake that my husband (or a professional, hehe!) has to fix. That leads me to this DIY that I completed in an afternoon, that cost me about $10.
My Inspiration
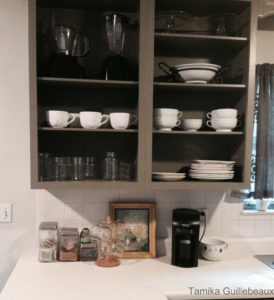
I have wanted one of those cute coffee bar set-ups for quite some time now, but could never make it work in our small home. Because of our open floor plan, we don’t have very many walls in our kitchen or dining room. The one that we do have runs parallel to our large dining table, and we have sliding glass doors on the wall opposite from that. Therefore, the only option I had was to create something on our kitchen counter. I chose a counter that had a set of cabinets above it, and to add visual interest, decided to open those cabinets up.
The “How-To”
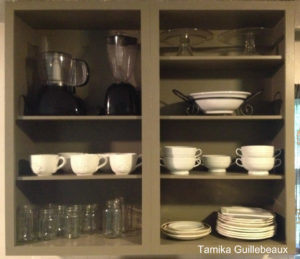
For the quick transformation, I unscrewed my cabinet doors at the base so that the hinges came off with the doors. I had painted our cabinets a nice gray several years ago, so I was left with painted outer cabinet, and light-colored laminate insides. Fortunately for me, we had to replace a cabinet a few months ago (due to a leak), and the plumbers left over the paint they had mixed to match our cabinets. SCORE!!! I used that paint to paint the inside of the cabinets and took the shelves outside to be painted as well. If you want this to last, I suggest priming the cabinets first, then painting, followed by sealing. I just wanted a quick fix, so I just painted and waxed the surfaces that would get the most use.
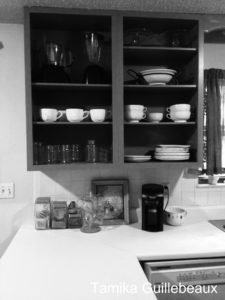
Once everything was dry, I put the shelves back in and TA-DA!!! I had my new open shelving and coffee bar! I had filled it with dishes I already had and placed my most used appliances at the top for easy access. The only things I had to buy for the project was the paint roller and tray, and the yellow picture and mug tree, which I picked up from our local thrift store. Everything else I had on hand.
If you don’t have painted cabinets, this project would be even easier. To add visual interest, you could line the backs of your cabinet with contact paper or even fabric. There are a ton of pictures on Pinterest. Sprucing up a small space in my house always gives me a boost, and I have learned that it doesn’t have to be time-consuming or expensive. With all the effort it takes to take care of children, manage a household, and do all the other things we do, how awesome is it to have a new, cute space to enjoy a good ol’ morning cuppa Joe.
Do you have an easy DIY project to share with us?
With Love,
Tamika Guillebeaux
- Ch…ch…ch…CHANGES Are Coming in 2017 for TMI - December 27, 2016
- What New Thing Are You Ready to See God Do in Your Life in 2017? - December 26, 2016
- Heaviness and Newness - December 23, 2016
